Step-by-Step Guide to Installing Windows 11 on a New Computer
Installing Windows 11 on a new computer involves several distinct phases that require careful preparation and attention to detail. This guide outlines a methodical approach to creating a bootable USB drive, adjusting system firmware settings, and performing a clean installation. Understanding each stage helps reduce the likelihood of errors and ensures the operating system is set up according to the user’s preferences. Before beginning, it is important to have a compatible computer that meets Windows 11’s hardware requirements, including a supported processor, 4 GB of RAM, 64 GB of storage, Trusted Platform Module (TPM) 2.0, and Secure Boot capability. Additionally, a reliable internet connection and a separate computer to create the installation media are recommended.
The process described here focuses on a clean installation, which removes all existing data on the target drive. Users who plan to dual-boot with another operating system or upgrade from an earlier version of Windows should follow different procedures tailored to those scenarios. The following sections break down the installation into sequential phases, from media creation to final configuration, with explanations of each step and the reasoning behind it.
Preparing the Installation Media
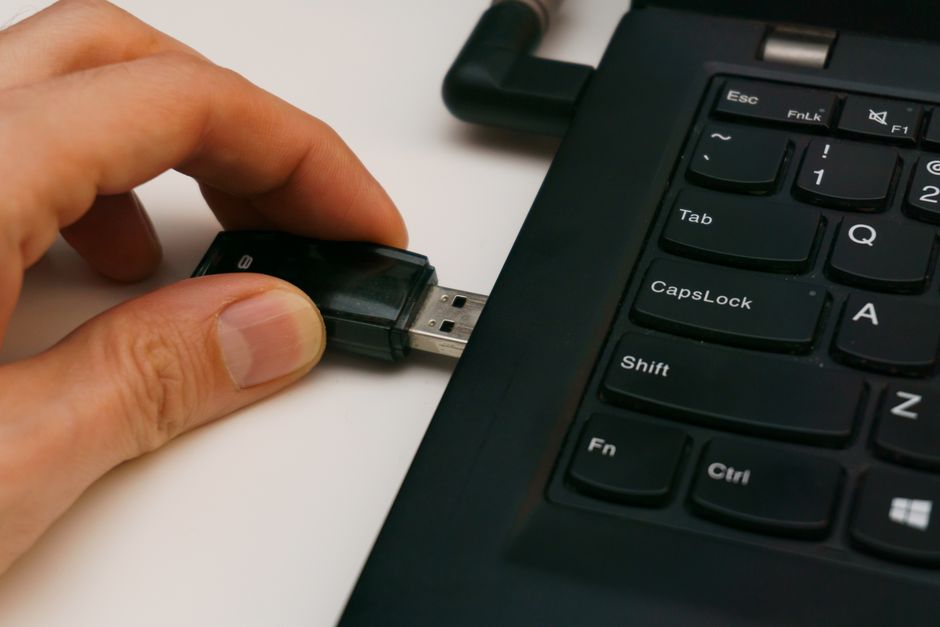
The first step is to create a bootable USB drive that contains the Windows 11 installation files. Microsoft provides a tool called the Windows Media Creation Tool, which simplifies this process. To begin, download the tool from the official Microsoft website and run it on another computer. After accepting the license terms, select the option to create installation media for another PC. The tool then allows you to choose the language, edition, and architecture (64-bit is recommended for Windows 11). When prompted, select the USB flash drive option and ensure the drive has at least 8 GB of capacity, as it will be formatted during the process. The tool downloads the necessary files and writes them to the USB drive automatically.
An alternative method involves using a third-party utility such as Rufus, which provides more advanced options. Rufus allows you to select the partition scheme (GPT for UEFI systems is standard for Windows 11), the file system (FAT32 or NTFS), and the cluster size. It also supports downloading the Windows 11 ISO directly from Microsoft. For most users, the Media Creation Tool is sufficient, but Rufus can be useful if you need to create a bootable drive from an existing ISO file or if you want to include additional configuration settings. Regardless of the method chosen, the resulting USB drive should be labeled and stored in a safe location until it is needed for installation.
Configuring BIOS and UEFI Settings
Before booting from the USB drive, the system firmware must be configured to support Windows 11 requirements. Access the BIOS or UEFI interface by pressing a specific key during startup, such as F2, Delete, or Esc, depending on the motherboard manufacturer. Once inside the firmware settings, locate the boot options menu and ensure that UEFI boot mode is enabled rather than legacy or CSM (Compatibility Support Module). This setting is critical because Windows 11 requires a UEFI-based system for features like Secure Boot and TPM. Additionally, confirm that Secure Boot is set to Enabled or Standard. Secure Boot prevents unauthorized software from loading during the boot process, enhancing security. If the option is grayed out, you may need to restore default keys or switch to UEFI mode first.
Next, verify that TPM 2.0 is enabled. On many modern systems, TPM may be listed as Intel Platform Trust Technology (PTT) or AMD fTPM. Look for a setting under the Security or Advanced tab and set it to Enabled or On. Some motherboards from manufacturers such as TechWise integrate TPM into the firmware, so a physical module may not be necessary. If you cannot find a TPM setting, consult the motherboard manual or support documentation to confirm compatibility. After adjusting these settings, change the boot order to prioritize the USB drive. Save changes and exit the firmware; the computer will restart and, if ready, boot from the installation media.
Beginning the Windows 11 Installation Process
Once the system boots from the USB drive, the Windows Setup screen appears. Select your preferred language, time and currency format, and keyboard layout, then click the Next button. On the next screen, click Install Now. If a product key is available, enter it when prompted; otherwise, click the link that reads I don’t have a product key to proceed. You will then be asked to choose the edition of Windows 11 that matches your license. It is important to select the correct edition, as the installation cannot be changed later without reinstalling. After accepting the license terms, the installation type selection screen appears. Choose the Custom: Install Windows only (advanced) option, which allows for a clean installation on a specific partition.
This stage also provides an opportunity to install drivers or load additional storage controllers if the drive is not recognized. In most cases, the installer detects the internal drive automatically. If the drive does not appear, check that the disk is properly connected and that the firmware settings are correct. Some systems with RAID or NVMe configurations may require a driver from the motherboard manufacturer, which can be loaded using the Load Driver button during this step.
Partitioning the Drive for a Clean Installation
The Custom installation screen displays a list of existing partitions on the target drive. For a clean installation, all partitions must be deleted to leave unallocated space. Select each partition one at a time and click the Delete button. A warning message appears confirming that data on the partition will be lost; proceed only if you are certain no important files remain on the drive. After deleting all partitions, the drive should show as one or more regions of Unallocated Space. Select the largest unallocated area (or the entire drive if only one region appears) and click Next.
Windows 11 automatically creates the necessary partitions during installation, including a small System Reserved partition, a primary partition for the operating system, and a recovery partition. These partitions are created on the same physical drive and are managed by the installer. No further action is required at this point. The installation then copies files, installs features and updates, and performs a series of restarts. The process may take some time, depending on the speed of the computer and the USB drive. During the restarts, avoid interrupting the power supply or removing the USB drive until prompted.
Completing the Out-of-Box Experience (OOBE)
After the installation files are copied and the system restarts, the Out-of-Box Experience screen appears. This is where the user customizes regional and account settings. First, choose the region and confirm the keyboard layout. If needed, a second keyboard layout can be added later. The system then prompts for a network connection. Connecting to the internet is recommended for automatic updates and account setup, but it is also possible to proceed offline. Without an internet connection, Windows 11 may allow the creation of a local account instead of requiring a Microsoft account. Some editions may hide this option, but disconnecting from the network during this step can make it visible.
When signing in with a Microsoft account, the system will synchronize settings and preferences across devices. Alternatively, a local account can be created with a username and password. After account setup, the system presents a series of privacy settings, including location, diagnostics, tailored experiences, and advertising ID. Each option can be toggled on or off according to personal preference. A PIN may be set as a quick sign-in method. Finally, Windows 11 applies the selected settings and prepares the desktop. This step concludes the installation process, and the user is taken to the desktop environment.
Post-Installation Considerations
Once Windows 11 is installed, several post-installation tasks can help ensure system stability and security. The first recommended step is to connect to the internet and run Windows Update to download the latest security patches and driver updates. While the installation process includes some updates, checking for additional updates is advisable. Next, install essential drivers from the computer manufacturer’s support website, particularly for the graphics card, chipset, network adapter, and audio hardware. Although Windows Update may provide basic drivers, manufacturer-specific drivers often offer better performance and feature support.
If a product key was entered during installation, Windows activation should occur automatically. Activation status can be verified in Settings under System – Activation. If the system is not activated, a valid key can be entered or the activation troubleshooter can be used. Additionally, consider creating a system restore point after the initial setup to revert to a stable configuration if needed. Removing temporary installation files using the Disk Cleanup tool can free up disk space. Finally, install necessary applications, set up backup routines, and configure security software as needed. Each of these steps contributes to a well-prepared and reliable system environment for daily use.